We just finished building this directory website (LaunchPedia) using WordPress. Yeah, the same WordPress everyone sh*ts about these days.
It took us less than 2 days of time to build this.
And we were able to build the directory at 1/10th the cost of alternate nocode tools like Softr & Glide.
So why did we choose WordPress over Other Nocode tools?
1) Affordable – It only cost us a one-time plugin cost of ~$25 to build the directory with WordPress. Building the same on other nocode tools like Softr & Glide would have cost us ~$25/month in subscriptions.
2) Flexibility – No cap on the number of records. We have the capacity to add unlimited entries to our directory in the future without any restrictions.
3) Unlimited customizations – With the plugins & 3rd party tools available for wordpress, we could customize our directory with advanced functionalities and integrations that are not available in any other nocode tools.
What did we build?
LaunchPedia – A directory of handpicked tools and resources for product launch.
Our Tool Stack:
- WordPress – Website
- Elementor – Page design
- WP Grid Builder – Plugin to build a directory
- Figma – To design the UX of the website
- CPT – To create custom posts in WordPress
- ACF – To create custom fields
- Google Sheets – To store the data
- Automa – To get screenshots of the websites
- Importer bulk – To import the data in bulk into WordPress
Process
Step 1: Collecting the Data
1.1 Finding tools for the directory
Once we finalized the categories we wanted to have in our directory, we got started with collecting the data.
We opted not to use web scraping for collecting data, as it can lead to a compromise in quality & mediocre products.
Instead we decided to handpick the tools for our directory.
So, we started looking for tools in:
1. Marketplaces like Appsumo & pitch ground
2. Communities like product hunt and FB groups
3. Directories like betalist and startups.fyi
After collecting a list of tools, we went through each & every tool’s website, pricing and testimonials pages to ensure the authenticity of the tool.
So after quality-checking all the tools we collected, the list came down to 216 tools.

1.2 – Enriching the tool’s data
This is the toughest part of curation. Once we had the list of tools for our directory, now we had to add additional information about the tools that will help visitors to take a decision.
So, for every tool, we wanted to add:
1.Tool Description – A short paragraph of what the tool is about and how it helps you
2. Pricing plan – Is it Free, Paid, Or Freemium?
3. Price – How much does it cost?
4. Website link
5. Website screenshot
For the Pricing plan, price, and website link, we entered all the details manually.(it is a daunting task, but there was no other option for it.)
For Description, we used Buzzstream metadata extractor and extracted the meta descriptions of all 216 websites by feeding the website links.
Once that was done, we used the Automa chrome extension for website screenshots. Automa is a chrome browser extension that can automate repetitive tasks, based on the given flow. Here is the flow we used:
URL → Visit website → Take screenshot of the website → And save it to the file explorer.
Step 2 – Setting up Directory on WordPress
2.1 – Create a custom post with custom fields
Since WordPress is made for blogging, it won’t allow you to create custom posts by default. But with CPT and ACF plugins, you can create custom posts and add custom fields to them.
And creating a custom post type is so easy. You just need to install the CPT plugin and enter these details (in the screenshot below) about custom posts. That’s it, you can see your custom post type in the admin menu.
Now you need to install ACF for custom fields. After activating ACF, you need to select the fields from the dropdown and customize it according to your needs.

2.2 – Export the data to WordPress
Now, we need to export the tools data that we’ve collected in google sheets into our wordpress site.
Every record is a post in WordPress. So, you need to publish 216 posts with all the details and images. This is a tiring task if done manually.
To avoid this, we used the “Ultimate CSV Importer Free” plugin.
It lets you import csv data in bulk into wordpress.
How to do it?
- Install & activate the plugin
- Download your google sheet as a CSV file
- Upload the sheet into plugin
- Map google Sheet columns to your custom fields and
- Relax.
All your data will be imported.
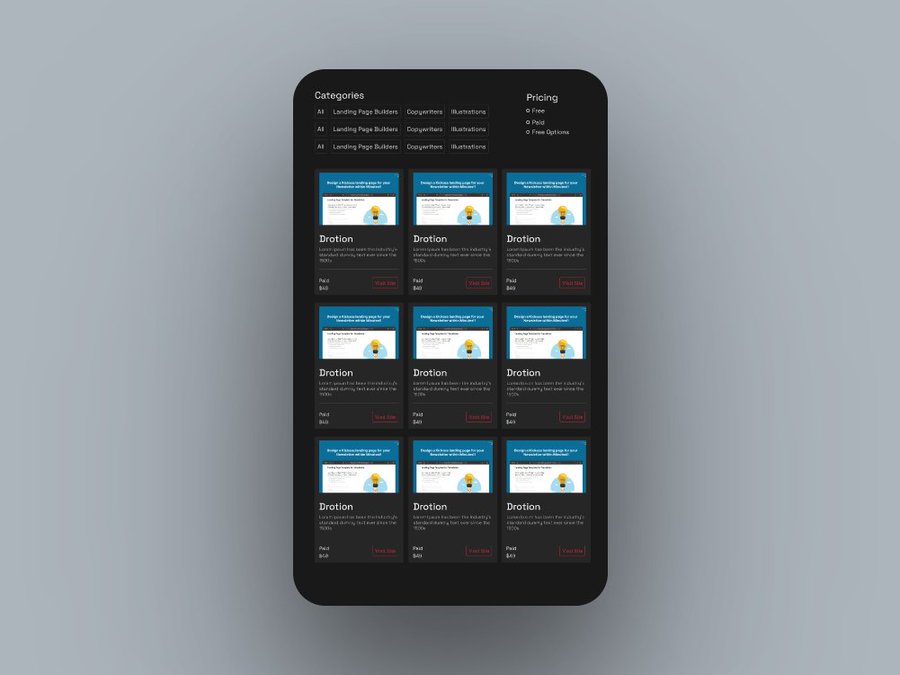
2.3 – Layout design on Figma
Once the data got imported, we started designing the layout. We wanted to keep the home page simple and on point. So, we just added 5 blocks to the home page
Blocks we added to the home page
- Hero section
- Subscription form
- Directory
- Filters
- Pagination
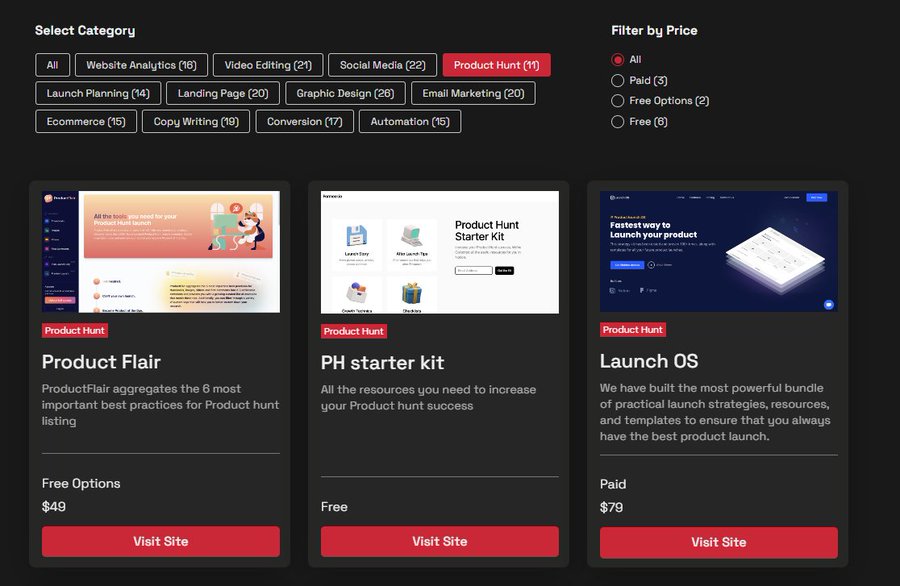
2.4 – Setting up the Directory on WordPress
A directory website has 3 main parts:
- Cards – Individual records/posts
- Facets – Filters, sort, and paginations
- Grid – Directory layout
Designing these 3 elements on WordPress is a bit tricky, so we used WPGrid builder for that.
WPgridbuilder is a wordpress plugin that lets you design and build grids in minutes. WP grid builder comes with default templates for cards, grids and filters. We just need to duplicate the templates and customize them in the editor.
2.5 – Design the website’s home page on Elementor
Once the directory is set up, we started designing the home page using elementor and also worked on the mobile responsiveness of the grid.
And with that step, we were finally done.
We had finished building a directory website from start to finish in just a weekend.
This is how we built a directory website on WordPress.
We learnt a lot building this And thought of sharing our process in the community, so you can also build a directory website with WordPress.
We’re launching on Product Hunt soon. You can support us here by clicking “notify me” and help our launch.
This post is pure gold.
Thank you!
Thanks a lot Adler, Glad it helped you 🤗